One of the most overlooked tools in SEO, in my opinion, is Microsoft Clarity. It gives you real insight into how visitors are actually interacting with your website, not just where they came from. Read on to learn why it's such a powerful tool for local businesses.
If you already have GA4 installed on your website, you're probably tracking traffic, conversions, and maybe even phone clicks or form submissions. But one thing GA4 doesn't really show you is how people are actually interacting with your website.
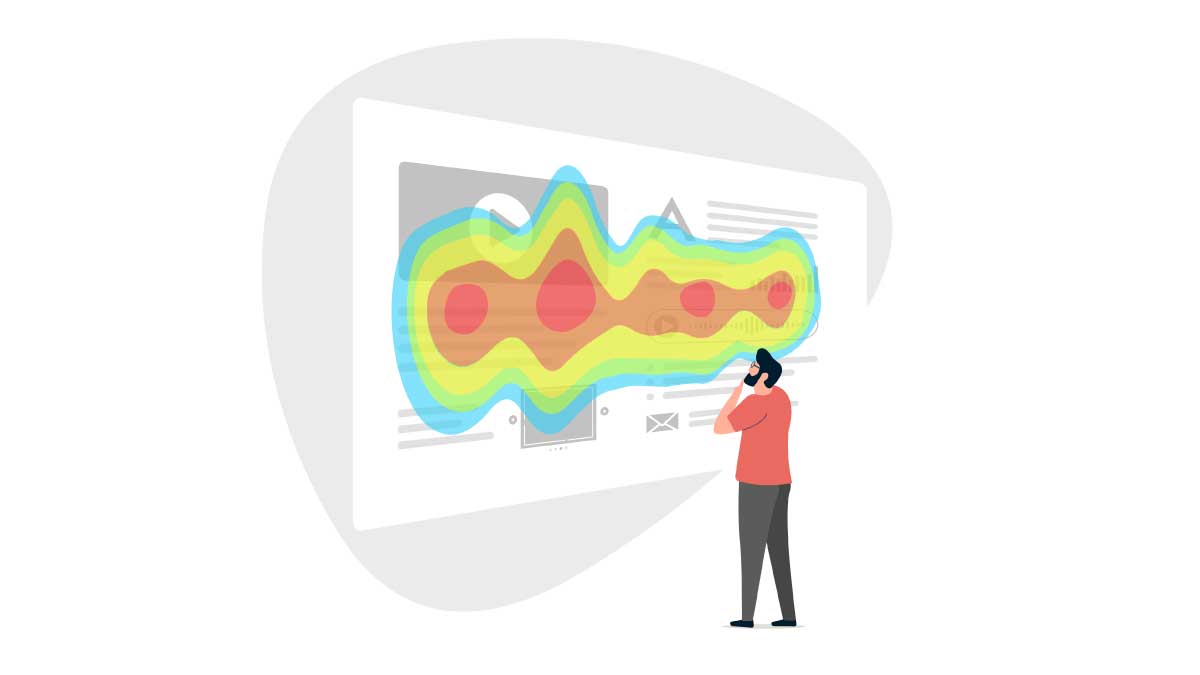
That's where Microsoft Clarity comes in, and honestly, it's one of my favorite free tools right now. Clarity lets you watch real visitor behavior on your site through session recordings and heatmaps. You can see where people click, where they get stuck, how far they scroll, and where they leave. For local service businesses especially, this can be incredibly helpful.
I use it a lot when I'm trying to answer questions like:
- Why are people landing on this page but not calling?
- Why is this form not converting?
- Are visitors even seeing the CTA button?
- Is something frustrating users on mobile?
The best part is that it's free and easy to install through Google Tag Manager.
What Is Microsoft Clarity?
Microsoft Clarity is a free website behavior tracking tool from Microsoft. It gives you:
- Session recordings so you can watch how real users move through your site
- Heatmaps showing where visitors click and how far they scroll
- Rage click tracking to help identify frustration points
- User behavior insights that GA4 alone doesn't really provide
For service businesses like pest control, lawn care, HVAC, landscaping, detailing, and other local businesses, this kind of data can help you improve conversions without guessing.
What You Need Before You Start
Before setting this up, make sure you already have:
- A Microsoft Clarity account
- Google Tag Manager installed on your website
- Admin access to both accounts
If you already have GA4 running through GTM, this will feel very familiar.
Here's the setup process step by step
Step 1: Create Your Microsoft Clarity Project
First, head over to Microsoft Clarity and create your project.
- Sign in to your Clarity account
- Click Add New Project
- Enter your website name and URL
- Click Create Project
Once the project is created, Microsoft will give you a tracking script. You don't actually need the
full code snippet if you're using Google Tag Manager. What you want is the Project ID, the short code inside the script that looks something like abc123xyz. Keep that handy
because you'll use it inside GTM.
Step 2: Add Microsoft Clarity to Google Tag Manager
Now jump into Google Tag Manager.
- Open your GTM container
- Go to Tags
- Click New
- Name the tag something simple like Microsoft Clarity – All Pages
Once installed, paste your Project ID into the setup field. That's really the main setup.
Step 3: Add the Trigger
Now you need to tell GTM when the tag should fire. For Clarity, you'll almost always want it to fire on every page.
- Click Triggering
- Select All Pages
- Save the tag
Step 4: Test Everything Before Publishing
I always recommend testing tags before publishing anything live. Inside GTM:
- Click Preview
- Enter your website URL
- Launch the preview session
Your site will open with Tag Assistant connected. Click around your website a bit, then go back to Tag Assistant and make sure your Clarity tag is showing under Tags Fired. If it's firing correctly, you're ready to publish.
Step 5: Publish Your GTM Container
Now publish the changes.
- Click Submit
- Add a version name like Added Microsoft Clarity
- Click Publish
Step 6: Verify Clarity Is Receiving Data
Head back into Microsoft Clarity and open your project. Within a few minutes, you should start seeing traffic detected. Sometimes it takes a little bit for the first session to appear, so don't panic if it's not instant. You can also use the Microsoft Clarity Chrome extension if you want a quick verification check.
What to Look at First Inside Clarity
Heatmaps
Are users clicking where you want them to? Or are they clicking random things that aren't even links? This can tell you a lot about layout problems or confusing design.
Scroll Depth
A lot of service pages bury important information too low. If visitors never scroll far enough to see your form, phone number, or CTA, that's a problem worth fixing.
Session Recordings
This is where Clarity gets really powerful. Watch recordings from visitors who landed on a key page but didn't convert. You'll often spot patterns pretty quickly:
- Confusing layouts
- Mobile usability issues
- Weak calls to action
- Slow-loading sections
- Visitors hunting for information that's hard to find
Rage Clicks
Clarity also flags "rage clicks," where users repeatedly click something out of frustration. This is one of the fastest ways to uncover broken buttons, confusing layouts, or mobile issues.
Bonus Tip: Connect Clarity to GA4
One thing I highly recommend is connecting Microsoft Clarity to Google Analytics 4. Once linked, you can tie GA4 events back to actual session recordings. That means instead of just seeing a conversion number in GA4, you can actually watch the visitor journey that led to it, or watch the sessions that didn't convert. That context is incredibly valuable.
Final Thoughts
Microsoft Clarity is one of the easiest wins when it comes to website analytics. It's free, lightweight, easy to install through GTM, and gives you real insight into how people experience your website.
A lot of business owners spend time guessing why pages aren't converting. Clarity helps remove the guessing. And when you combine it with GA4, Google Search Console, and good conversion tracking, you start getting a much clearer picture of what's actually happening on your site.
If you're running a local service business website and you're not using Clarity yet, it's definitely worth adding.
Want help setting up analytics and getting found on Google?
Get Started